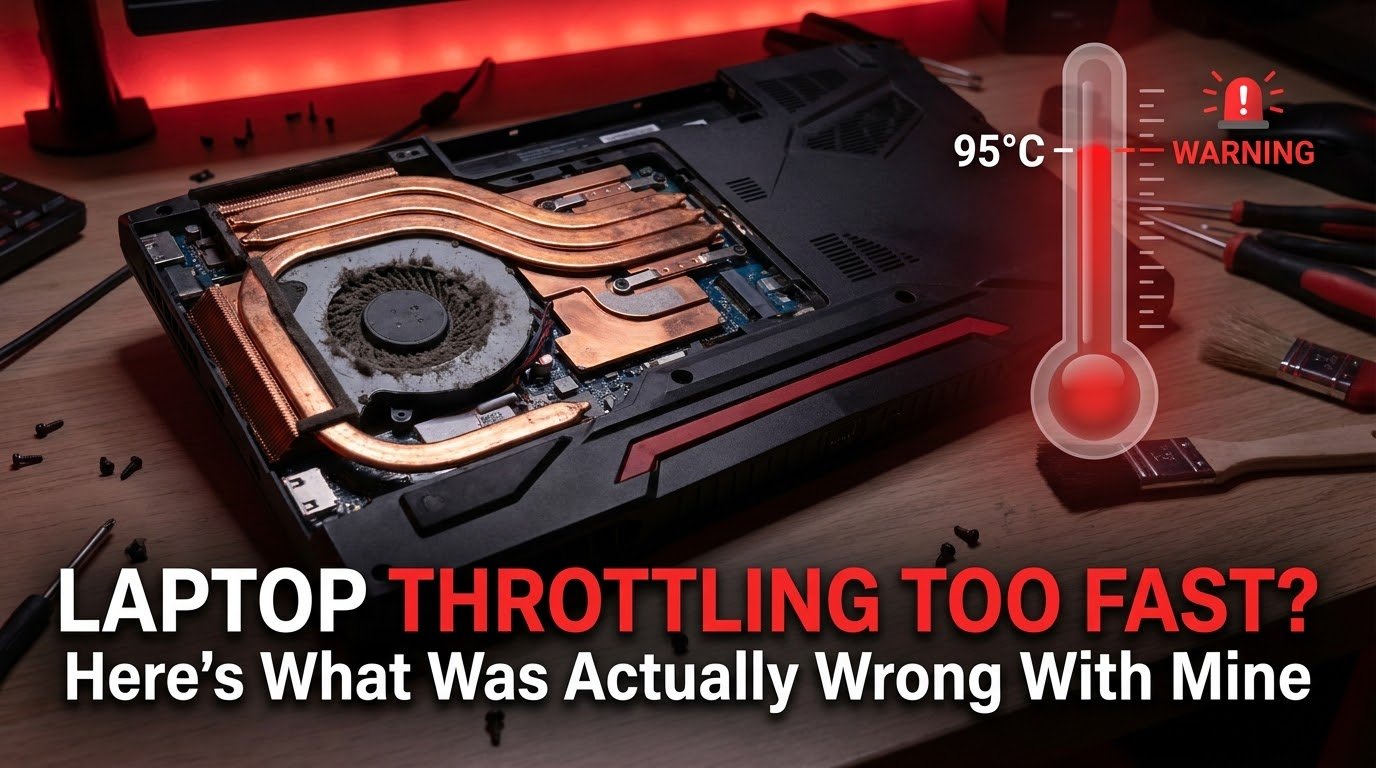
My frame rate dropped from 90fps to 35fps in under four minutes, and I hadn’t even reached a demanding part of the game yet. Just standing in a menu screen for a bit too long was enough to tank my performance completely.
That was the moment I understood my laptop wasn’t struggling with the game itself. It was overheating so fast that it started throttling almost immediately, protecting itself by slowing everything down before things got dangerous.
I spent way too long assuming this was just “how gaming laptops are.” Loud, hot, inconsistent. Turns out that’s mostly wrong, and once I actually addressed the real causes, my laptop stopped falling apart the second it warmed up.
Why Gaming Laptops Throttle So Aggressively
Thermal throttling happens when your CPU or GPU gets too hot and automatically reduces its clock speed to bring temperatures back down. It’s a built-in safety feature, not a bug, but it becomes a serious problem when it kicks in way earlier than it should.
Laptops are especially prone to this because everything is crammed into a thin chassis with limited airflow, small fans, and heat pipes that can only move so much heat away from the components before things back up.
The frustrating part is that a laptop throttling within minutes usually isn’t a sign the hardware is broken. It’s almost always a sign something is preventing proper heat dissipation, and that something is usually fixable.
The Assumption I Had Wrong For Way Too Long
I genuinely believed for months that my laptop was just weak and couldn’t handle sustained gaming sessions. I even looked into replacing it before actually opening it up to check what was going on inside.
What I found was disturbing. Dust had built up so thick around the fan intake that it looked like a thin gray blanket covering the vents. My laptop wasn’t underpowered. It was suffocating.
Step-by-Step: What Actually Fixed My Throttling Problem
Step 1: Monitor Your Temperatures Properly First
Before changing anything, you need actual data, not guesses. I downloaded HWMonitor and ran it alongside a game to track real-time CPU and GPU temperatures.
My CPU was hitting 95-97°C within minutes of gaming, which is dangerously close to thermal shutdown territory on most laptop processors. That number alone told me this wasn’t a minor issue.
Step 2: Clean Out The Dust (This Fixed Most Of My Problem)
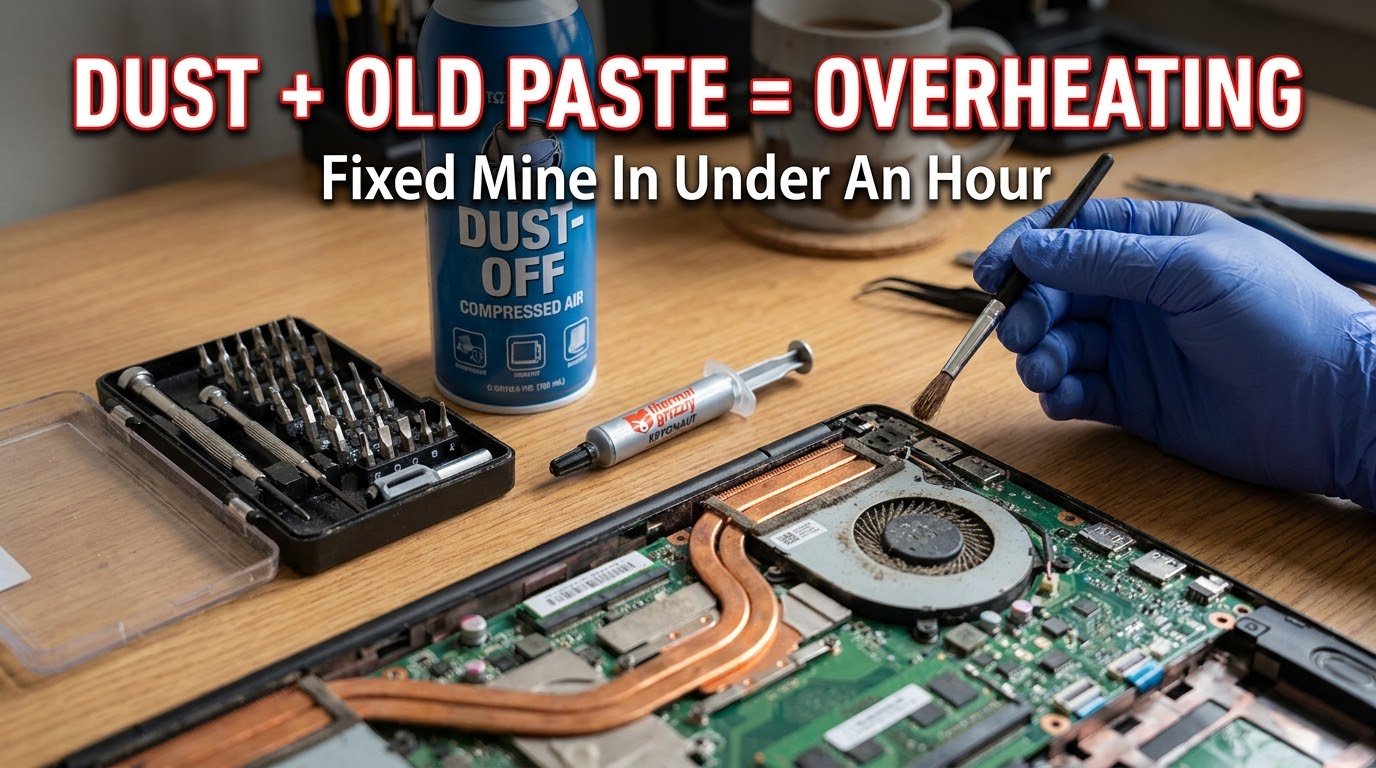
I opened up my laptop’s back panel, which required a small screwdriver kit, and found exactly what I mentioned above. Dust had completely clogged the fan intake and heat sink fins.
Using a can of compressed air, I blew out the dust from both the intake vents and the internal heat sink directly, holding the fan blades still with a toothpick while spraying to avoid spinning them too fast and damaging the bearings.
After cleaning, my idle temperatures dropped by almost 15°C before I’d even started gaming again. That’s how much of a difference built-up dust actually makes.
Step 3: Reapply Thermal Paste If Your Laptop Is Older
This step intimidated me the first time, but it made a genuinely massive difference. Thermal paste is the material between your CPU/GPU and the heat sink that helps transfer heat efficiently. Over time, especially after two or three years, it dries out and becomes far less effective.
I used Arctic MX-4 thermal paste, a well-known and affordable option, removed the old dried-out paste with isopropyl alcohol and a microfiber cloth, then applied a small pea-sized amount to the CPU and GPU dies before reassembling everything.
My CPU temperatures under load dropped from that dangerous 95-97°C range down to a much safer 75-80°C after this step specifically. That was honestly a bigger improvement than I expected from something that costs less than a fast food meal.
Step 4: Elevate Your Laptop For Better Airflow
This sounds almost too simple to matter, but it genuinely does. Most laptops pull air in from the bottom, and gaming directly on a bed, blanket, or even a flat desk surface blocks that airflow significantly.
I started using a simple laptop stand that elevates the back slightly, and combined with a basic cooling pad with built-in fans, my sustained temperatures dropped further, especially during longer gaming sessions.
Step 5: Check And Adjust Your Power Settings
Windows has a “Balanced” power plan by default, which can sometimes cause inconsistent performance and unnecessary heat spikes as your CPU rapidly switches between power states.
Go to Control Panel, then Power Options, and switch to “High Performance” while plugged in. Counterintuitively, this actually gave me more consistent temperatures rather than the aggressive spiking I was seeing before.
Step 6: Use Manufacturer Software To Control Fan Curves
Most gaming laptop brands include their own control software, like ASUS Armoury Crate, MSI Center, or Lenovo Vantage. Inside these, you can usually manually adjust fan curves to run more aggressively under load instead of relying on default settings that sometimes prioritize quietness over cooling.
I switched my fan profile to “Performance” mode specifically during gaming sessions, and while it’s noticeably louder, my temperatures stayed far more stable throughout longer play sessions.
Step 7: Undervolt Your CPU If Your Laptop Supports It
This one requires a bit more caution, but it made a real difference for me. Using a tool like Intel XTU (for Intel processors) or Ryzen Master (for AMD processors), I slightly reduced my CPU voltage, which lowered heat output without meaningfully affecting performance.
I approached this carefully, making small adjustments and stress testing after each change, similar to how GPU undervolting works. This isn’t something to rush, and I’d recommend researching your specific CPU model before adjusting anything here.
Step 8: Check For Software Conflicts Causing Unnecessary Load
Sometimes throttling isn’t purely thermal. Background processes, corrupted game files, or software conflicts can cause unusually high resource usage that generates more heat than necessary.
If you’re also experiencing random game crashes alongside the overheating, that’s often a related issue worth addressing separately. I actually dealt with both problems around the same time, and found a lot of helpful troubleshooting steps in How to Fix Common Game Crashes, which covers software-side issues that can compound thermal problems if left unchecked.
My Actual Results After Fixing Everything
Before addressing any of this, my laptop would throttle within 3-5 minutes of gaming, dropping frame rates dramatically and making longer sessions genuinely frustrating.
After cleaning the dust, reapplying thermal paste, elevating the laptop properly, and adjusting fan curves through my manufacturer’s software, I can now game for over an hour with stable temperatures sitting around 78-82°C under sustained load. That’s a completely different experience from where I started.

Common Mistakes People Make
Assuming the laptop itself is defective or underpowered. I made this exact assumption for months before actually investigating properly. Most throttling issues are fixable without replacing anything.
Never physically opening the laptop to check for dust buildup. This was genuinely the single biggest factor in my case, and it’s something a lot of people never think to check.
Ignoring thermal paste degradation on older laptops. People assume thermal paste lasts forever. It doesn’t, especially after a few years of regular use.
Gaming on soft surfaces like beds or blankets. This blocks bottom-intake airflow significantly and makes throttling worse than it needs to be.
Undervolting too aggressively without proper testing. Like GPU undervolting, going too far too fast on the CPU side can cause instability. Small, gradual adjustments work far better.
Final Thoughts
A gaming laptop throttling the second it warms up isn’t something you just have to live with. In my case, it came down to years of dust buildup and thermal paste that had long stopped doing its job properly.
I genuinely regret not opening my laptop up sooner to check what was actually going on inside. What felt like a hardware limitation for months turned out to be a straightforward maintenance issue that cost me less than the price of a decent meal to fix.
If your laptop is throttling fast, don’t assume it’s beyond saving. Check your temperatures, clean out the dust, and work through these steps one at a time before considering anything more drastic.
For manufacturer-specific guidance on safely opening your laptop and accessing internal components, checking your laptop brand’s official support page (ASUS, Lenovo, Dell, HP, and others each have their own teardown guides) is worth doing before attempting any of the physical cleaning or thermal paste steps yourself.