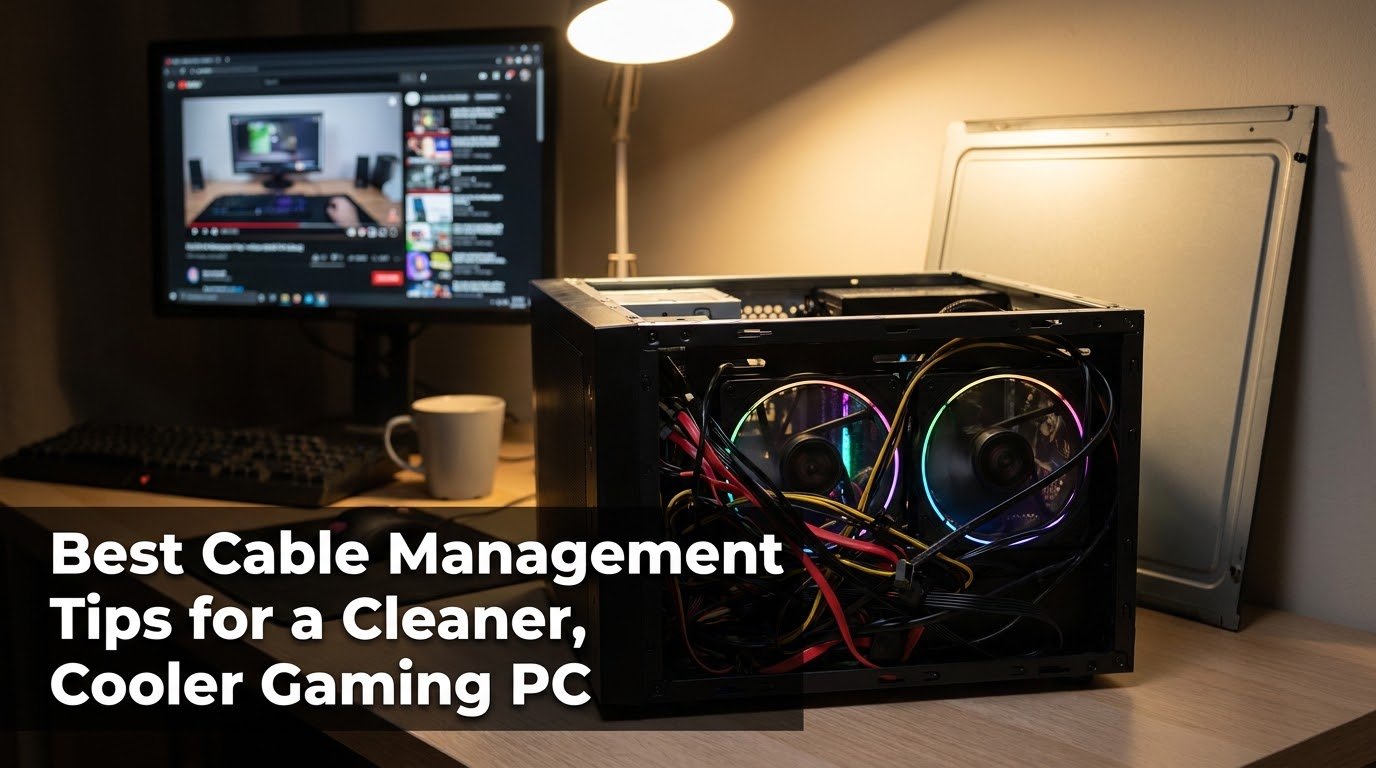
My fan hit 100% and I hadn’t even opened the game yet. Just sitting on the desktop, idle, and my case sounded like a leaf blower. I popped the side panel off expecting dust bunnies the size of tumbleweeds. Instead I found something almost worse: a rat’s nest of cables sitting directly in front of my intake fan, blocking airflow like a wall of spaghetti.
That was the moment I actually started caring about cable management. Before that, I thought it was a cosmetic thing something streamers did for pretty desk setups on Instagram. Turns out it’s one of the cheapest, easiest upgrades you can make to a gaming PC, and most people (me included, for years) completely ignore it.
Let me walk you through what actually works, what I got wrong the first few times, and how you can clean up your rig in an afternoon without spending a ton of money.
Why Cable Mess Actually Hurts Performance
This part surprised me. I always assumed messy cables were just ugly, not a real performance issue. Wrong.
When cables pile up in front of your fans or block your airflow path, your case has to work harder to pull in cool air and push out hot air. That means your fans spin faster, your GPU and CPU run a few degrees hotter, and in some cases your components throttle themselves to avoid overheating — which literally costs you frame rate.
After I cleaned up my case, I checked my temps using a monitoring tool to see if any of this actually made a difference. I actually covered the free tools I use to keep an eye on temps and usage in an earlier post, so grab one of those if you don’t already have something running. My GPU dropped almost 7°C under load just from moving cables out of the airflow path. No new fans, no repaste, nothing fancy. Just cables.
My First Attempt Was a Disaster
Before I go into what works, let me tell you what didn’t.
I bought a pack of cheap zip ties, yanked every cable as tight as I could, and cinched everything into one thick bundle running down the back of the case. Looked neat from the front. Problem was, I’d bundled my SATA power cable so tight it put pressure on the connector, and about two weeks later my second SSD randomly stopped being detected. Turned out the connection had worked itself loose from the strain.
Lesson learned: cable management isn’t about making things as tight and compact as possible. It’s about routing things so they’re out of the way without stressing the connectors or blocking airflow.
Step-by-Step: How I Actually Cleaned Up My Build
Here’s the process I use now on every build, mine or a friend’s.
1. Unplug everything and start from zero
I know it’s tempting to just “fix” what’s already there, but half-managed cables are harder to work with than a blank slate. Disconnect your PSU cables, fan headers, front panel connectors all of it. Lay them out so you can see what you’re working with.
2. Use a modular power supply if you can
This one’s a game changer if your budget allows it. A modular or semi-modular PSU (I’m currently running a Corsair RM750x) lets you only plug in the cables you actually need. No more stuffing six unused PCIe power cables behind your motherboard tray because you’re too lazy to fully unplug them from a non-modular unit.
If you’re still on a non-modular PSU, don’t panic you can still get a clean build, it just takes a bit more folding and tucking.
3. Route through the back, not the front
Most mid-tower cases built in the last few years have cutouts and channels behind the motherboard tray specifically for this. Run your 24-pin, CPU power, and SATA cables through these channels instead of across the front of the case. It hides almost everything from view and more importantly keeps that entire front airflow path clear.
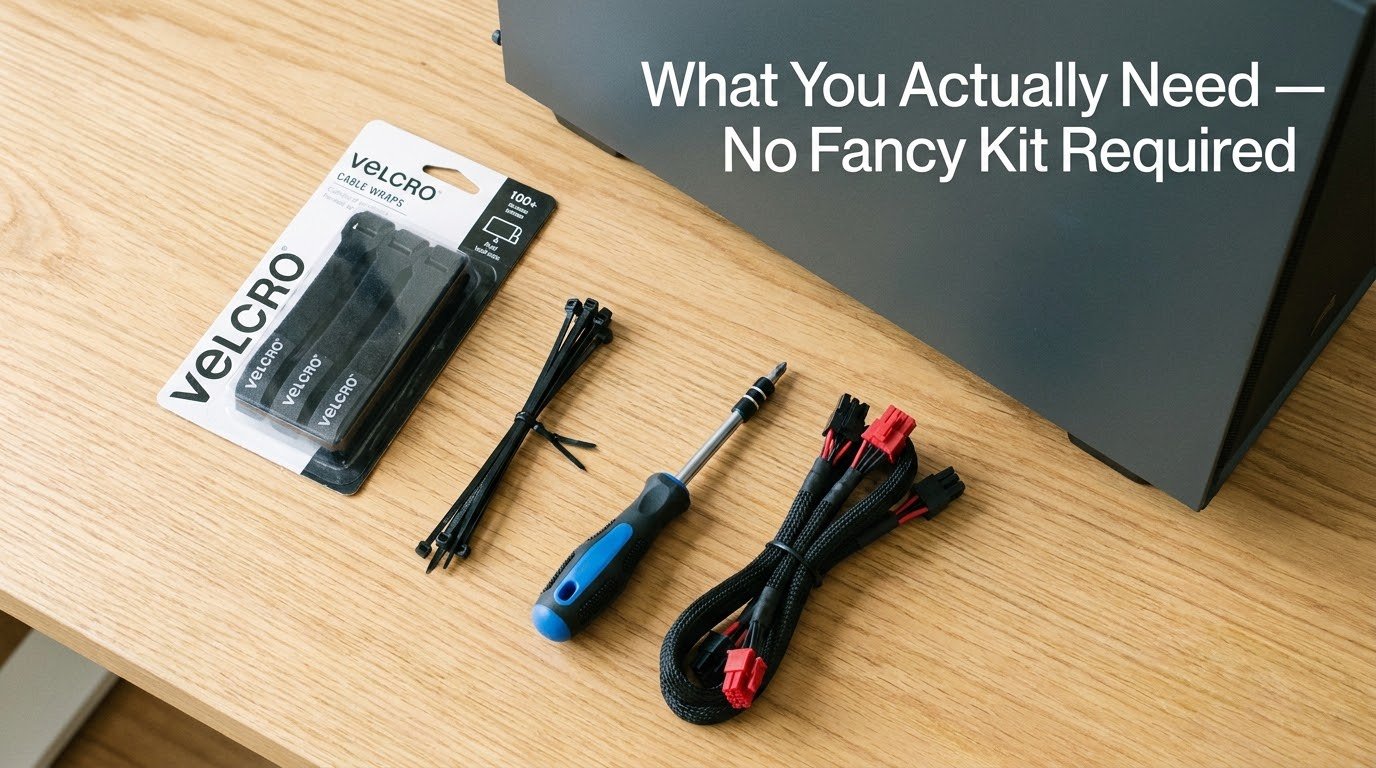
4. Use Velcro straps, not zip ties
This is the fix for my earlier zip-tie disaster. Velcro cable straps (I use a basic pack from Amazon, nothing fancy) let you bundle cables snugly without crushing the connectors, and you can adjust or redo them anytime without cutting anything off and starting over. Zip ties are cheap but they’re a one-way street — once they’re tight, they’re tight.
5. Group by function, not by convenience
Bundle your fan cables together, your RGB cables together, your storage cables together. It sounds like a small thing, but when you need to troubleshoot later (a fan not spinning, an SSD not showing up), you’ll thank yourself for not having one giant mixed bundle to dig through.
6. Mind the fan intake and exhaust zones
This is the big one that actually affects temperatures. Walk around your case and identify exactly where your intake and exhaust fans pull and push air. Keep that zone completely clear — no cables draped across the fan blades or resting against the mesh. Even one loose cable sitting in front of an intake fan can noticeably reduce airflow.
7. Tuck the excess, don’t coil it in the open
Extra slack in a cable doesn’t need to be visible. Push it behind the motherboard tray, behind a drive cage, or into any dead space your case has. Just make sure the panel still closes without pinching anything.
Real Mistakes People Make (I’ve Made Most of These)
Ignoring the PSU shroud. A lot of cases have a shroud that covers the power supply and bottom of the case specifically to hide cable mess. If your case has one and you’re not using it, you’re missing free cable management.
Buying extensions before checking cable length. I once bought a full extension kit for RGB cables I didn’t even need extended my stock cables were already plenty long. Measure first.
Forgetting the front panel connectors. Those tiny power/reset/USB header cables are the most annoying to route cleanly, and most people just leave them dangling. A small zip tie or dab of hot glue to secure the bundle near the header goes a long way.
Cable combs for looks only, done wrong. Cable combs look amazing for that straight, evenly spaced 24-pin cable shot you see online. But if you’re not experienced with them, you can bend pins or stress the connector trying to force stiff cables into place. If you’re going for that look, watch a proper tutorial first don’t wing it like I did on my first try.
Not rechecking after upgrades. Every time I’ve added a new GPU, extra fan, or additional drive, I’ve had to redo part of my cable routing. It’s easy to forget and just shove the new cable wherever it fits, undoing all your earlier work.
A Simple Example That Changed My Mind
A friend of mine had a mid-range build Ryzen 5, RTX card, decent airflow case but his temps were consistently 8-10°C higher than mine on a similar setup. We opened his case and it was basically what mine looked like before my “leaf blower” moment: cables draped straight across the intake fans, PSU cables not tucked, everything visible and in the way.
We spent maybe 45 minutes rerouting things, using zip ties he already had (carefully this time, not crushing anything), and pushing the slack behind the tray. Same hardware, same thermal paste, same fans. His load temps dropped noticeably, and his fan curve didn’t ramp up nearly as aggressively during long sessions. Nothing changed except how the cables were sitting.
If you want to actually track whether your own cleanup makes a difference, run a monitoring tool before and after so you’re comparing real numbers instead of guessing same ones I mentioned earlier. That’s really the only way to know your cleanup actually helped and isn’t just placebo.

Final Thoughts
Cable management gets treated like an aesthetic hobby, something for people building show-off PCs with tempered glass panels and RGB everywhere. But even in a boring beige case tucked under a desk where nobody will ever see the inside, it still matters for airflow, for temps, for not accidentally yanking a drive loose two weeks later like I did.
You don’t need a hundred-dollar cable kit or professional sleeving to get most of the benefit. A pack of Velcro straps, a bit of patience, and routing things through the back of your case will get you 90% of the way there. Do it once properly and you’ll barely have to think about it again until your next upgrade.