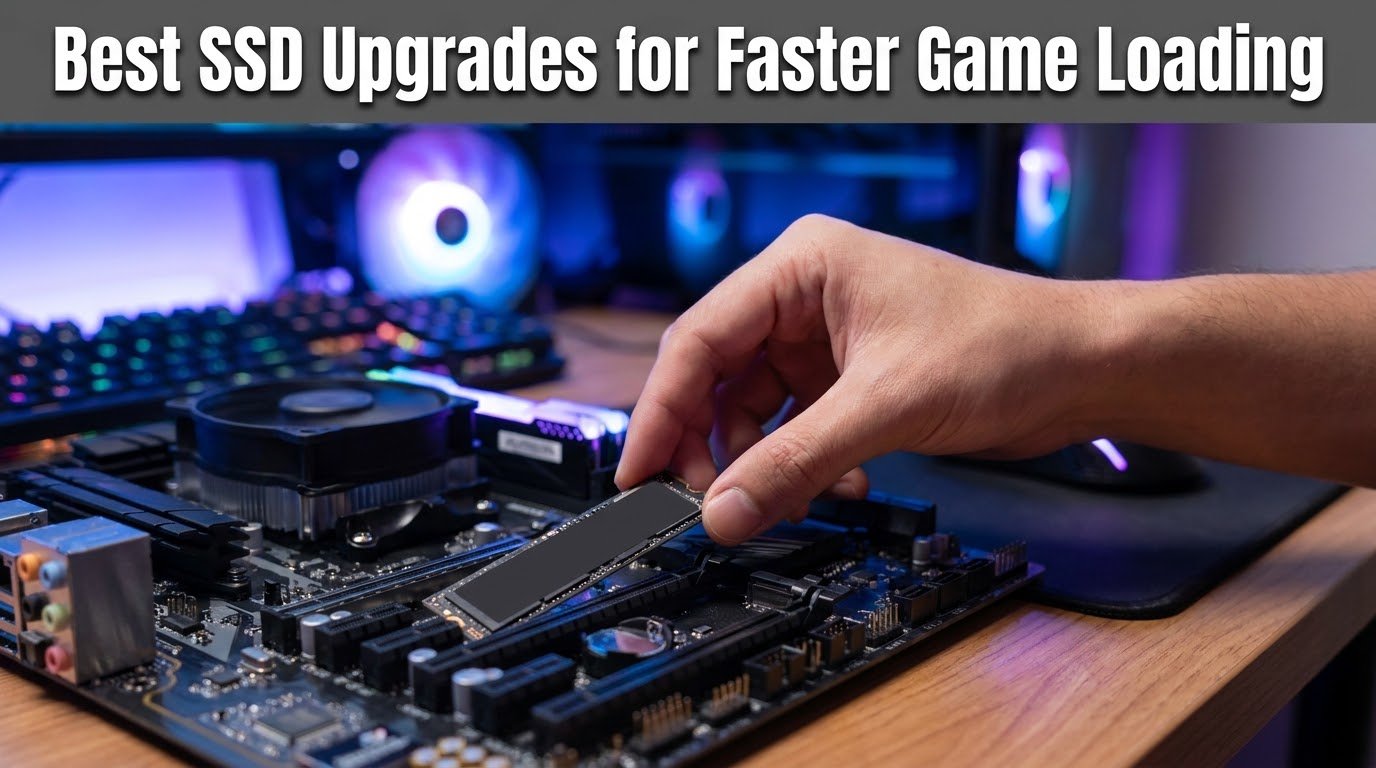
I still remember the exact moment I got fed up. I was loading into Warzone, staring at that loading screen for what felt like a small eternity, while my buddy on Discord had already looted three buildings and was talking trash about my old hard drive. That was the day I finally admitted my “gaming PC” was being dragged down by a five-year-old 1TB spinning hard drive I never bothered to replace.
I’m not exaggerating when I say swapping that HDD for an SSD felt like getting a new computer. Windows booted in under 15 seconds. Games that used to take two minutes to load dropped to under 20 seconds. And the best part? I didn’t even spend that much money to get there.
If you’re on the fence about upgrading your storage, or you’re not sure which SSD actually makes a difference for gaming, I’ve spent the last few years testing different drives across a few different builds. Here’s everything I wish someone had told me before I started.
Why Your Game Loading Times Are Actually Slow
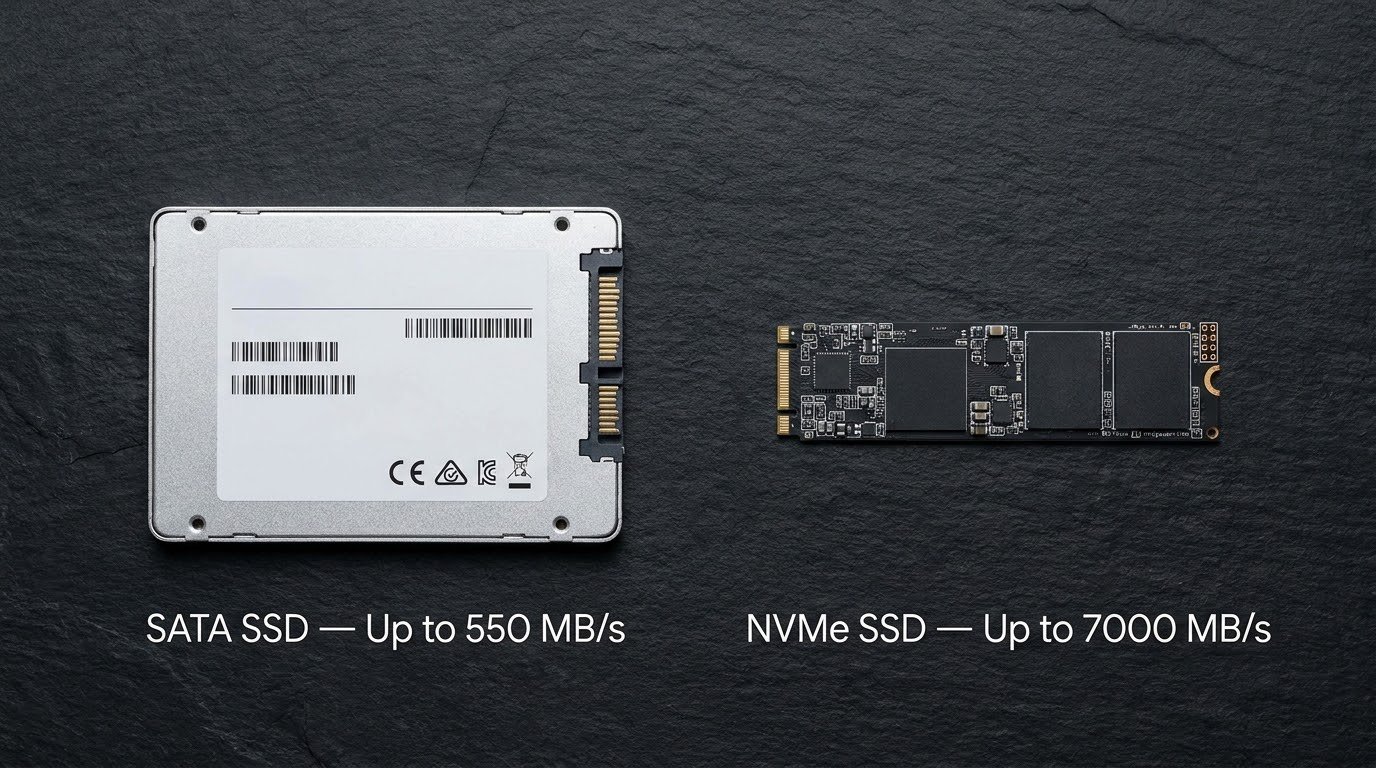
Before spending a single rupee or dollar, it helps to understand what’s actually happening. When a game loads, it’s pulling huge amounts of texture data, map files, and assets off your storage drive into your RAM and GPU. A regular hard drive can only read data at around 100-160 MB/s. A basic SATA SSD jumps that to 500-550 MB/s. And a proper NVMe SSD? Some of them push past 7000 MB/s.
That’s not a small upgrade. That’s the difference between waiting and basically not waiting at all.
I learned this the hard way when I first built a PC with a decent GPU (an RTX 3060) but kept my old hard drive “to save money.” Big mistake. The GPU was basically sitting idle, twiddling its thumbs, waiting for data to show up. A slow drive bottlenecks everything, no matter how strong your processor or graphics card is.
SATA SSD vs NVMe SSD: What Actually Matters for Gaming
This confused me for a long time, so let me save you the headache.
SATA SSDs (like the Samsung 870 EVO or Crucial MX500) connect through the same cable your old hard drive used. They’re limited to around 550 MB/s. Still miles better than a hard drive, but not the fastest option available.
NVMe SSDs plug directly into your motherboard’s M.2 slot and communicate way faster. Drives like the Samsung 980 Pro, WD Black SN850X, or Crucial P3 Plus can hit anywhere from 3500 MB/s to over 7000 MB/s depending on the generation (PCIe 3.0 vs 4.0 vs 5.0).
Here’s the honest truth though: for gaming specifically, the jump from SATA to NVMe matters less than the jump from HDD to SSD. I ran a test loading Elden Ring on both a SATA SSD and an NVMe drive on the same PC, and the difference was maybe 2-3 seconds. Noticeable, but not life-changing.
So if you’re on a budget, don’t stress about needing the absolute fastest NVMe drive. Any SSD is going to transform your experience compared to a hard drive.
My Actual SSD Upgrade Recommendations
I’ve personally used or installed all of these across different builds for myself, family members, and a couple of friends who just wanted their PC to stop feeling ancient.
1. Crucial MX500 (SATA, Budget Pick)
This was my first SSD ever, and honestly it’s still solid years later. If your motherboard doesn’t support NVMe or you just want a cheap way to speed things up, this is a safe, reliable choice. I’ve never had one fail on me.
2. WD Black SN770 (NVMe, Best Value)
This is the drive I recommend most to friends now. It’s fast, reasonably priced, and handles game installs beautifully. I moved my Steam library to one of these and noticed load times in games like Cyberpunk 2077 drop noticeably.
3. Samsung 980 Pro (NVMe, Performance Pick)
I upgraded to this when I built my current rig, mainly because I do some video editing on the side too. For pure gaming, it might be slight overkill, but if you want a drive that’ll handle everything you throw at it for years, this one’s a workhorse.
4. Samsung 990 Pro / WD Black SN850X (PCIe 4.0, High-End)
If you’ve got a newer motherboard that supports PCIe 4.0, these drives are ridiculously fast. I tested one in a friend’s build, and Forza Horizon 5 went from a full loading bar to practically instant.
Step-by-Step: How I Actually Installed My SSD
If you’ve never done this before, don’t worry, it’s genuinely one of the easier PC upgrades. Here’s exactly what I did:
Step 1: Check your motherboard first Before buying anything, look up your motherboard model and check if it has an M.2 slot (for NVMe) or just SATA ports. I made the mistake once of buying an NVMe drive for an older board that only supported SATA-speed M.2. Lesson learned: always check specs first.
Step 2: Back up anything important Even though you’re adding a drive (not necessarily replacing your old one), I always back up my save files, documents, and screenshots folder just in case. Better safe than sorry.
Step 3: Physically install the drive For NVMe, it just slots directly into the motherboard and gets secured with a tiny screw. For SATA, you’ll need a SATA data cable and a power cable from your PSU. Neither takes more than 10 minutes.
Step 4: Format the drive in Windows Once it’s installed, boot into Windows, open Disk Management (search for it in the Start menu), find your new drive, and format it. It’ll show up as unallocated space until you do this.
Step 5: Move or reinstall your games This part trips people up. You can either reinstall games fresh on the new SSD, or use a tool like Steam’s built-in “move install folder” feature, which I honestly find the easiest way to do it without redownloading everything from scratch.
Mistakes I Made (So You Don’t Have To)

- Buying too small a drive. I got a 500GB SSD thinking it’d be plenty, then realized modern games like Call of Duty can eat up 150GB+ on their own. Go for at least 1TB if you can afford it.
- Forgetting to enable AHCI/NVMe mode in BIOS. On one older build, my SSD was running way slower than expected because the BIOS was still set to IDE mode. A quick BIOS setting fix solved it instantly.
- Not checking my Windows install for background clutter. Even with a great SSD, I noticed load times were still a bit inconsistent until I cleaned up unnecessary startup programs and background apps. Combined with the right Windows settings, everything ran noticeably smoother, and I actually found a solid guide on this that I still refer back to: how to optimize Windows 11 for gaming. It pairs really well with an SSD upgrade since hardware and software optimization work hand in hand.
Real Talk: Is It Worth It?
If you’re still gaming off a hard drive in 2026, yes, absolutely, this is one of the cheapest and most impactful upgrades you can make. It genuinely makes your whole PC feel newer, not just games. Boot times, app launches, file transfers, everything speeds up.
For comparing raw specs and current pricing across brands, I usually check listings on PCPartPicker before buying, since prices on SSDs fluctuate a lot depending on sales.
Honestly, the moment that sealed it for me was loading into a match and actually beating my friend to the first loot spawn for once. Small win, but it felt great after years of being “the guy who’s always still loading.”
If your PC still feels sluggish despite decent specs, don’t overlook your storage. It’s not the flashiest upgrade, but it might be the one that actually changes how your games feel to play.