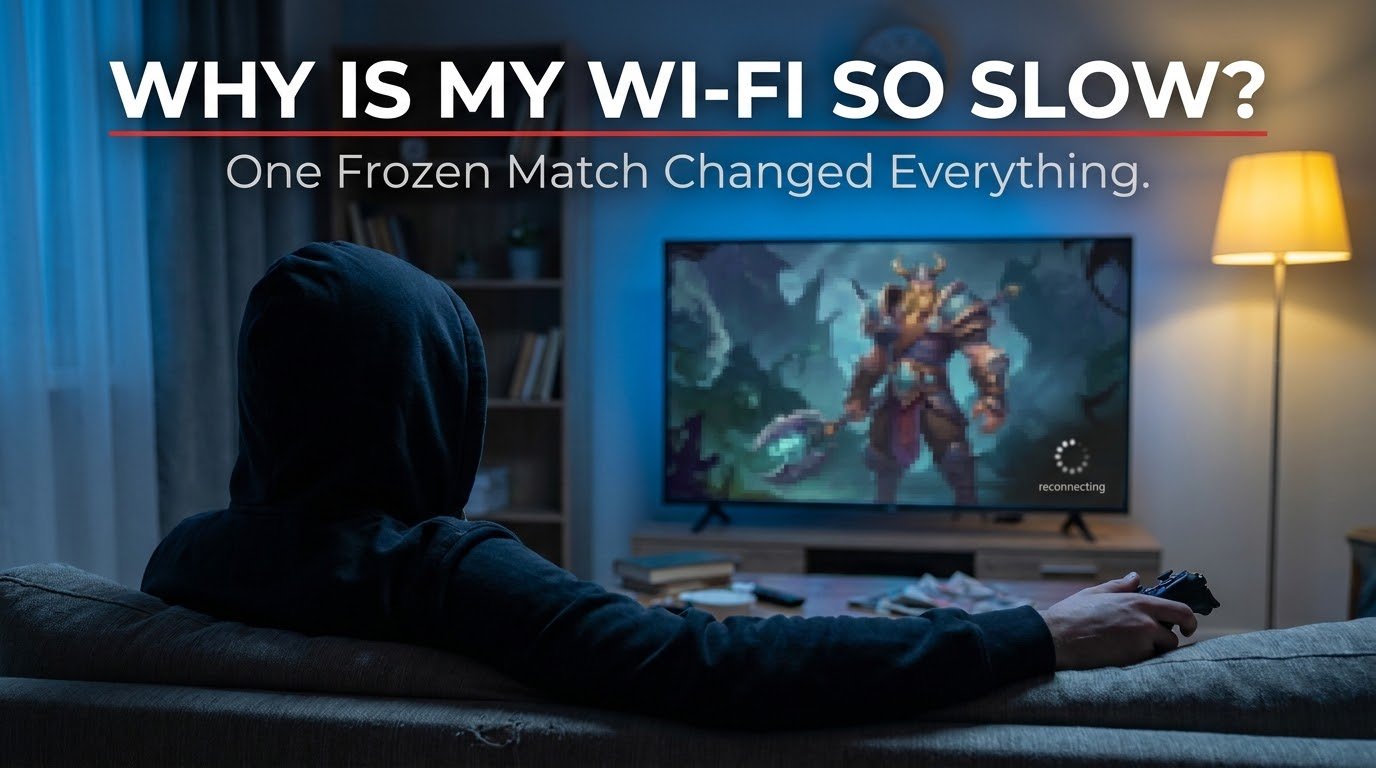
I was three rounds deep into a ranked match, finally on a win streak after a rough week, when my screen froze. Not lagged. Froze. By the time it reconnected, I’d been kicked, my rank took a hit, and I was standing in my living room yelling at a router that couldn’t hear me.
That was the night I finally stopped blaming my internet provider and started actually figuring out what was wrong with my home Wi-Fi.
Turns out, most of us are sitting on decent internet plans that are being wasted by bad setups, outdated habits, or router placement that makes zero sense. I spent about three weekends testing, moving things around, and yes, making some dumb mistakes before I actually fixed my Wi-Fi properly. This guide is everything I learned, minus the trial and error you don’t need to repeat.
Why Your Wi-Fi Feels Slow Even With a “Good” Plan
Here’s something that took me embarrassingly long to understand: your internet speed and your Wi-Fi speed are not the same thing.
You can pay for a 200 Mbps plan and still get 15 Mbps in your bedroom because the signal is getting blocked, stretched thin across too many devices, or fighting interference from your neighbor’s router.
I made this exact mistake. I called my ISP three times convinced I was being scammed, only to realize my router was tucked inside a TV cabinet, behind a wooden door, on the opposite end of the house from where I actually used my devices.
Lesson one, and probably the biggest one: where your router sits matters more than how much you’re paying for internet.
Step-by-Step: How I Actually Fixed My Wi-Fi
I’m not going to give you vague advice like “restart your router.” You already know that. Here’s the real process, in order, from the guy who lived through the trial and error.
Step 1: Test Your Current Speed Properly
Before changing anything, I ran a proper baseline test using Speedtest by Ookla on both my phone and laptop, in different rooms, at different times of day.
This mattered more than I expected. My speed dropped almost 40% in my bedroom compared to standing right next to the router. Without testing first, I wouldn’t have known how bad the gap actually was.
Action step: Test in every room you regularly use. Write the numbers down. You need this baseline to know if your fixes are actually working later.
Step 2: Fix Router Placement (This Alone Changed Everything)
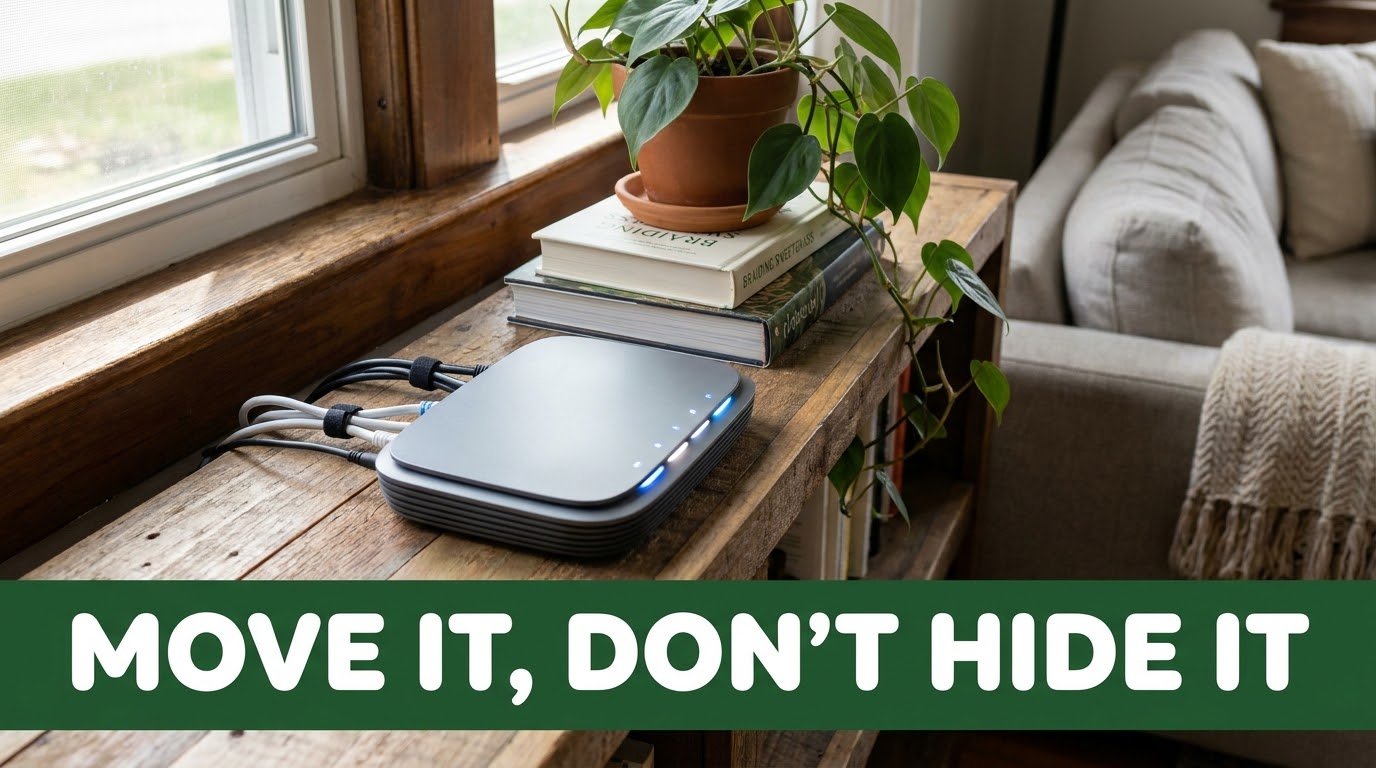
I moved my router out of the cabinet and placed it on an open shelf, at roughly chest height, away from walls and metal objects. No joke, my living room speed jumped noticeably almost instantly.
Some placement rules I learned the hard way:
- Keep it away from microwaves and cordless phones they genuinely interfere with the signal.
- Central location beats a “hidden” location every time.
- Elevated is better than floor-level.
- Avoid placing it inside cabinets, behind TVs, or near thick walls.
Step 3: Check for Interference From Neighboring Networks
This one surprised me. I live in an apartment building, and I had no idea how many Wi-Fi networks were competing for the same channel as mine.
I used the Wi-Fi Analyzer app on Android to check channel congestion, and sure enough, I was sitting on the most crowded channel in the building.
Action step: Log into your router settings (usually through an app like the Google Home app, TP-Link Tether, or Netgear Nighthawk app) and manually switch to a less congested channel, or set it to “auto” if your router supports smart channel switching.
Step 4: Separate Your 2.4GHz and 5GHz Bands
A lot of newer routers combine both bands under one network name, which sounds convenient but actually caused issues for me. Some of my devices kept jumping to the weaker, more crowded 2.4GHz band even when I was standing right next to the router.
I split them into two separate network names one for 2.4GHz, one for 5GHz and manually connected my most-used devices to 5GHz.
The difference for gaming and video calls specifically was noticeable within a day.
Step 5: Reduce the Number of Devices Fighting for Bandwidth
I genuinely didn’t realize how many devices were connected until I checked. Smart bulbs, a smart plug I forgot existed, an old tablet nobody used, two phones on standby all quietly eating bandwidth.
Action step: Go into your router app and check connected devices. Disconnect or forget anything you don’t actually use regularly.
Step 6: Consider a Mesh System If You Have a Larger Home
This was my last step, and honestly, my most expensive lesson. I tried boosting my signal with a cheap Wi-Fi extender first, and it technically worked, but it also cut my speeds nearly in half in the rooms it covered.
I eventually switched to a mesh system. I went with TP-Link Deco and the difference was significant. Instead of one router straining to cover the whole house, multiple points share the load evenly.
If you’re renting and can’t run ethernet cables, mesh systems are genuinely worth the investment if your home has dead zones.
Step 7: Check Real-World Coverage, Not Just Theoretical Speed
One thing that helped me understand my situation better was checking actual crowdsourced Wi-Fi and network data for my area using WifiMap. It’s mostly known for helping people find public Wi-Fi hotspots when traveling, but it’s also a decent way to get a broader sense of network density and connectivity patterns around you, especially useful if you’re troubleshooting interference in a busy apartment building or figuring out why your signal behaves differently depending on time of day.
It’s not a replacement for testing your own home setup, but it’s a useful extra data point, especially if you’re the type who likes verifying things instead of guessing.
Real Scenario: Fixing Lag During Online Gaming
Since a lot of what pushed me to fix this in the first place was gaming lag, let me give you the specific setup that solved it for me.
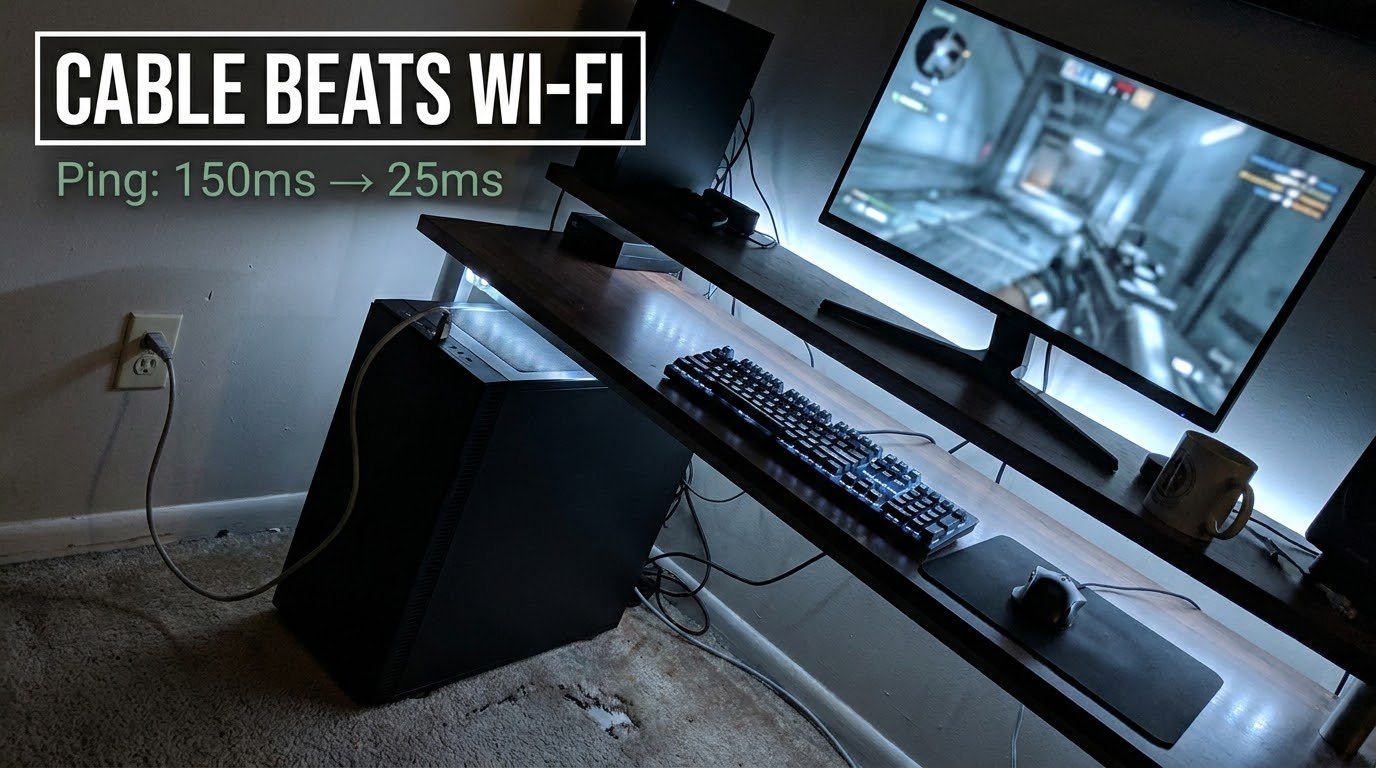
I connected my gaming PC directly via ethernet cable instead of relying on Wi-Fi entirely. If your setup allows it, this is genuinely the single most effective fix for reducing lag and packet loss during online matches.
For devices that can’t use ethernet, like a phone or a laptop I use around the house, I made sure they were on the 5GHz band, close to the router or a mesh point, with unnecessary background apps closed.
My ping dropped from an inconsistent 80–150ms to a steady 20–30ms. That’s the difference between rage-quitting and actually enjoying a match.
Common Mistakes People Make (I Made Most of These)
Mistake 1: Blaming the ISP before checking your own setup. Sometimes it’s genuinely their fault. Often, it’s not.
Mistake 2: Hiding the router for aesthetic reasons. I get it, routers are ugly. But function should win here.
Mistake 3: Using outdated router firmware. I hadn’t updated my router’s firmware in over a year. A quick update through the manufacturer’s app fixed several stability issues I didn’t even know existed.
Mistake 4: Buying a Wi-Fi extender without understanding it can reduce speed. Extenders rebroadcast the signal, but they often cut bandwidth significantly in the process. Mesh systems generally handle this better.
Mistake 5: Ignoring the number of connected devices. Smart homes are great, but every device is a small tax on your bandwidth.
Final Thoughts
Fixing my Wi-Fi wasn’t one single magic trick. It was a bunch of small, boring adjustments that added up to a genuinely different experience at home. Faster video calls, smoother streaming, and yes, no more freezing mid-match during a win streak.
If you’re dealing with slow Wi-Fi right now, don’t just accept it as normal. Test your setup properly, fix your router placement first since it costs nothing, and only spend money on mesh systems or upgrades once you’ve ruled out the free fixes.
I still think about that frozen screen sometimes, mostly because it’s the reason I finally understood my own home network instead of just complaining about it. Small annoyance, useful lesson.