Three years ago I was sitting in my hostel room with a laptop that had 4GB of RAM and an Intel HD Graphics chip that struggled to render my desktop wallpaper properly, let alone a game. My friends were playing GTA V and I was stuck watching YouTube videos of other people playing it. That stung more than it should have.
I didn’t have money for a new laptop. I didn’t have money for an external GPU either. What I had was a lot of free time, a stubborn attitude, and a willingness to mess things up before figuring out what actually worked.
This article is everything I wish someone had told me back then, minus the trial and error that wasted weeks of my life.
First, Let’s Be Honest About What “Low-End” Means
Before anything else, open Task Manager (Ctrl+Shift+Esc) and check your specs. Look at your RAM, your processor, and whether you have a dedicated graphics card or just integrated graphics (Intel UHD, Intel HD, or an old AMD APU).
If you’ve got 4GB or 8GB RAM, no dedicated GPU, and a processor from five-plus years ago, you’re in the same boat I was. That doesn’t mean gaming is impossible. It means you need to be smart about which games you pick and how you set them up.
I learned this the hard way when I tried installing Cyberpunk 2077 on that old laptop. It didn’t even launch. Total waste of three hours of downloading on a slow hostel Wi-Fi connection.
Step 1: Stop Chasing AAA Games
This was my biggest mistake early on. I kept trying to run games that were clearly built for gaming PCs with dedicated graphics cards. Games like Red Dead Redemption 2, Elden Ring, or modern Call of Duty titles are simply not made for integrated graphics, no matter how many settings you lower.
Instead, look for games that were designed with lower hardware in mind:
- CS:GO or CS2 (on lowest settings, CS2 is heavier though)
- Minecraft (Java Edition runs fine on almost anything with 4GB+ RAM)
- Valorant (Riot built this to run on toasters, genuinely)
- GTA San Andreas or GTA IV
- Stardew Valley
- Rocket League (older builds run smooth on low-end hardware)
- League of Legends
I didn’t enjoy admitting this at first because I wanted to play the flashy new titles. But once I stopped fighting my hardware and picked games built for it, I actually started having fun again instead of staring at loading screens.
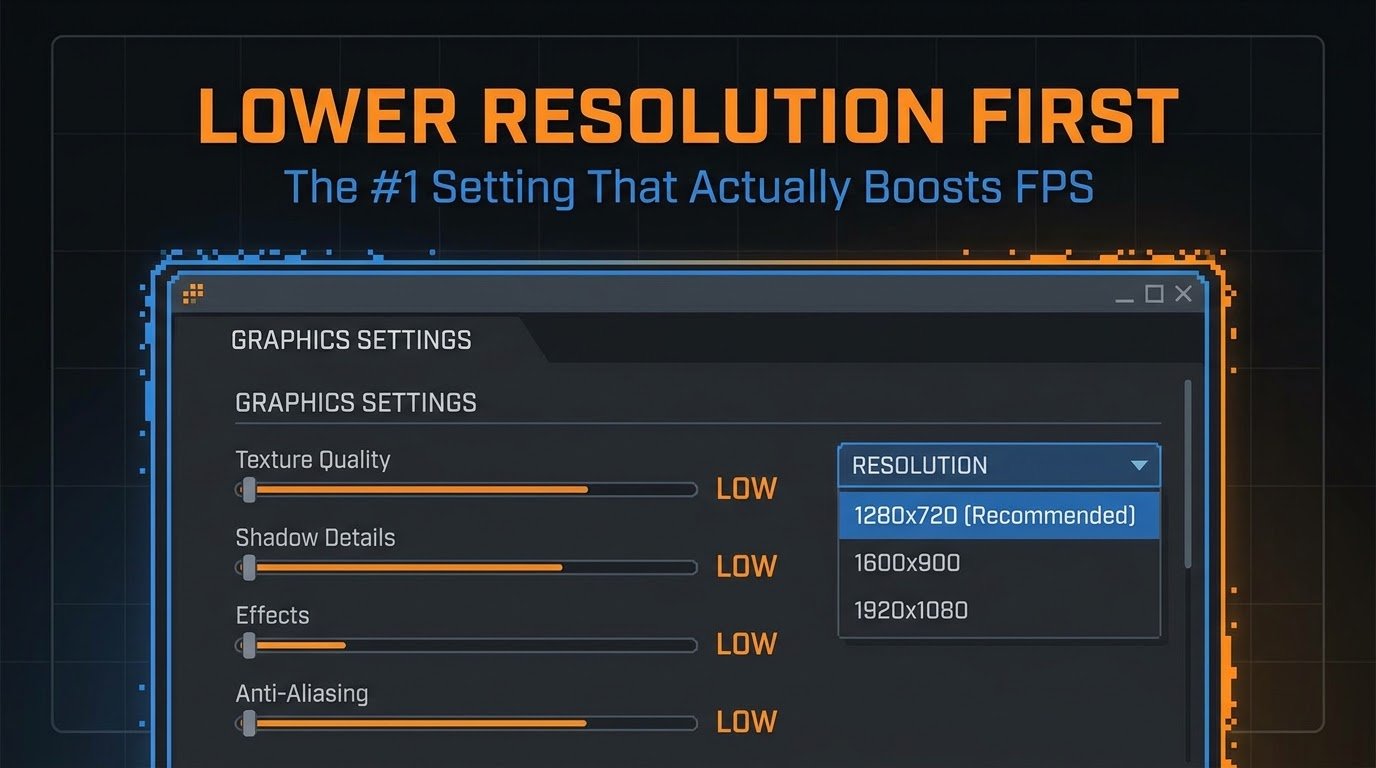
Step 2: Lower Your Resolution Before Anything Else
Most people go straight to lowering texture quality or shadows, but resolution is the single biggest factor in performance on weak hardware.
Here’s what worked for me: instead of running at your laptop’s native resolution (usually 1366×768 or 1920×1080), drop it to 1024×768 or even 800×600 in the game’s video settings. Yes, it looks blocky. But the frame rate difference is massive, sometimes going from an unplayable 8-10 fps to a smooth 30+ fps.
I know it feels wrong to make your game look worse on purpose. I resisted this for months because I thought it defeated the point. It doesn’t. A slightly blurry 30fps game beats a sharp 8fps slideshow every single time.
Step 3: Use Software That Actually Helps
There are a few tools I genuinely used and trust:
Steam or Beta Branches – Some older games on Steam have legacy or low-spec versions you can opt into through the game’s properties tab. Right-click the game, go to Properties, then Betas, and check if there’s a lighter version available.
MSI Afterburner – Even without a dedicated GPU, this lets you monitor your temperatures and usage in real time. It helped me realize my laptop was throttling because it was overheating, not because the game was too demanding.
Razer Cortex (Game Booster) – This closes background processes automatically when you launch a game. I was skeptical of it at first because it sounded like bloatware, but it actually freed up a noticeable chunk of RAM on my old machine.
Playnite – A free game launcher that helps organize everything and lets you track what actually runs well versus what doesn’t.
Step 4: Clean Up Your Laptop Before You Blame the Game
This is the part nobody tells you. Half the “my laptop can’t run this game” problems aren’t actually about the game. They’re about your laptop being clogged with junk.
Here’s what I do before launching anything demanding:
- Close every browser tab. Chrome alone can eat 2GB of RAM with ten tabs open.
- Disable startup programs you don’t need (Task Manager > Startup tab).
- Run Disk Cleanup to clear temporary files.
- Update your graphics drivers, even integrated ones, through Intel’s or AMD’s official site.
- Set your power plan to “High Performance” instead of “Balanced” or “Power Saver.”
That last one genuinely surprised me. Just switching the power plan gave me a noticeable frame rate boost because Windows was throttling my CPU to save battery by default.
Step 5: Try Cloud Gaming Instead of Local Installs
This changed everything for me once I actually tried it seriously. Instead of running games on your weak hardware, cloud gaming services stream the game from powerful servers to your screen. Your laptop just needs to handle video playback, which almost any device can do.
I tested a few:
- GeForce NOW – Lets you stream games you already own on Steam or Epic. Free tier has session limits but it’s genuinely usable.
- Xbox Cloud Gaming – If you have Xbox Game Pass Ultimate, this is included and works surprisingly well in a browser.
- Boosteroid – A paid option but cheaper than most, and I found it stable for less graphically intense titles.
The catch is you need decent internet. I had 15 Mbps and it worked, but anything below 10 Mbps gave me noticeable lag and blur during fast movement. If your Wi-Fi is unreliable, this route might frustrate you more than help.
I actually spent a good chunk of last year bouncing between all three services trying to figure out which one was worth paying for, and I broke down everything I liked and hated about each one in Is Cloud Gaming Worth It in 2026?. If you’re on the fence about whether it’s even worth the subscription cost, that one goes deeper into it than I can here.
Common Mistakes I Made (So You Don’t Have To)
Downloading games before checking system requirements. I wasted hours and mobile data downloading games that never had a chance of running.
Ignoring background updates. Windows Update running silently in the background while gaming tanked my frame rate more than once. Pause updates before a gaming session.
Blaming the game when it was actually a launch issue. Sometimes a game refuses to even open, and that’s a completely different problem than low performance. If you’re dealing with a game that crashes on startup or won’t launch at all, that’s usually a driver, corrupted file, or compatibility issue rather than a hardware limitation. I actually went through this exact headache and wrote down everything that fixed it in How to Fix Games That Won’t Launch on Windows after reinstalling a game three times before realizing it was just a compatibility mode setting.
Overpromising myself. I told myself I’d play the same games as my friends with high-end PCs. That expectation made me miserable. Once I accepted I was playing a different tier of games, I actually enjoyed gaming again.
A Realistic Example
My actual setup that finally worked: Intel Core i3, 4GB RAM (later upgraded to 8GB, which genuinely was the single best cheap upgrade I made), Intel HD 4000 graphics. On this, I could comfortably run CS:GO at 40-50fps on low settings at 900×600 resolution, Valorant at a stable 60fps on lowest settings, and GTA San Andreas maxed out with room to spare.
That’s not nothing. I put in hundreds of hours on that setup before I could afford anything better.
Final Thoughts
Gaming on a low-end laptop isn’t about pretending you have a gaming PC. It’s about working with what you have and finding real enjoyment within those limits. I spent way too long being frustrated instead of just adjusting my expectations and settings.
If you’re in the same spot I was, start small. Pick one lightweight game, apply a couple of these tweaks, and see the difference for yourself. You’ll probably be surprised at how much life is left in that “useless” laptop everyone told you to throw away.
For more general reference on optimizing PC performance, Microsoft’s own guide on improving PC performance is worth a skim too, especially if you’re not sure where to start with Windows settings.